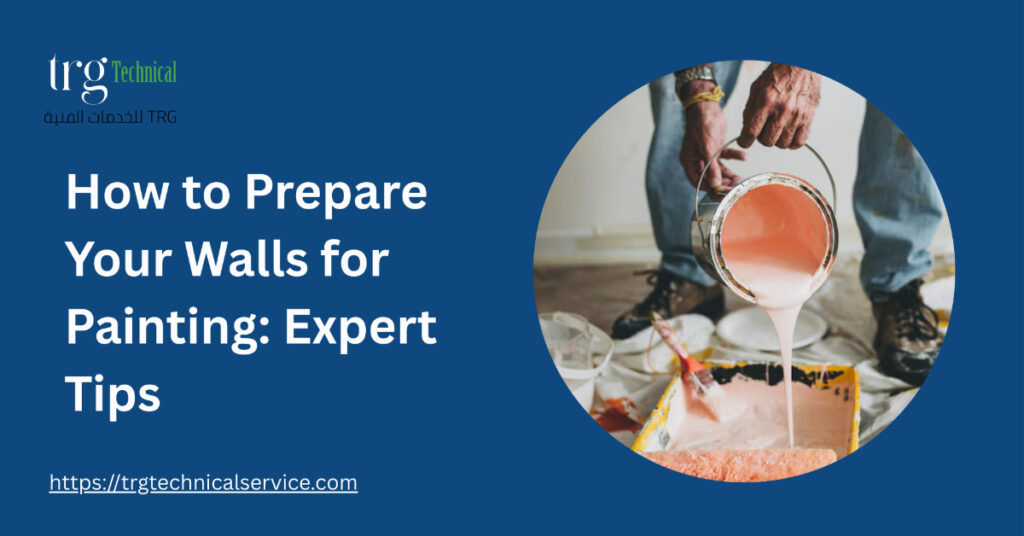
A fresh coat of paint can transform any room, but the key to a professional-looking finish lies in the preparation of the walls not just the paint you choose. Skipping prep work may lead to peeling, uneven finishes, or paint that fails to adhere properly. Whether you’re doing a DIY project or hiring a professional painter, knowing how to prepare your walls for painting is crucial for long-lasting, high-quality results.
This guide will walk you through the expert-recommended steps to prep your walls, including cleaning, patching, priming, and more.
Why Wall Preparation Matters?
Even the most expensive paint won’t deliver great results if applied to a dirty, uneven, or damaged surface. Proper wall preparation:
- Helps paint adhere better and last longer
- Prevents common issues like bubbling, cracking, or flaking
- Improves the smoothness and overall appearance of the finished surface
- Saves time and money by reducing the need for touch-ups
In short, prep work ensures your walls look good and stay that way for years.
Step 1: Clear and Protect the Area
Before touching the walls, prepare the space:
- Remove furniture or move it to the center of the room
- Cover floors, furniture, and outlets with drop cloths or plastic sheeting
- Remove switch plates, outlet covers, curtain rods, and wall hangings
- This keeps your work area clean and avoids accidental damage.
Step 2: Inspect and Repair Wall Damage
Carefully examine your walls for cracks, holes, dents, peeling paint, or water stains. These imperfections can ruin your paint job if not addressed beforehand.
Common repairs include:
Filling nail holes or minor cracks with lightweight spackle or joint compound
- Fixing larger holes with a patch kit or drywall repair
- Sanding ridges or bumps to create a smooth surface
- Replacing damaged drywall if necessary
Let all repairs dry completely, then sand them flush with the surrounding wall.
Step 3: Clean the Walls Thoroughly
Even if your walls look clean, they’re likely covered in dust, grease, and grime—especially in kitchens, bathrooms, and high-traffic areas. Cleaning is one of the most overlooked but important steps in wall preparation.
Cleaning tips:
- Use a mild detergent solution or TSP (trisodium phosphate) for heavily soiled walls
- Rinse with clean water to remove any residue
- Allow walls to dry completely before moving on
Skipping this step can cause paint to bubble or fail to stick properly.
Step 4: Sand for a Smooth Finish
Sanding smooths out any remaining imperfections and creates a slightly rough surface for the paint to grip.
How to sand:
- Use fine-grit sandpaper (120–150 grit) for most wall surfaces
- Focus on repaired areas and glossy spots
- Wipe away dust with a damp cloth or tack cloth
For textured walls, light sanding is enough to prepare the surface for paint without damaging the texture.
Step 5: Tape and Mask Edges
To achieve crisp lines and protect areas from accidental splashes, apply painter’s tape around:
- Door frames
- Window trim
- Baseboards
- Ceiling edges
Use high-quality painter’s tape and press it down firmly to prevent bleeding. Remove tape shortly after painting to avoid peeling the fresh paint.
Step 6: Prime the Walls (When Needed)
Primer isn’t always necessary, but it’s recommended in many cases to ensure an even finish and better paint adhesion.
When to use primer:
- On new drywall or unpainted surfaces
- When covering stains, dark colors, or patched areas
- On glossy surfaces like oil-based paint or semi-gloss finishes
Use a roller for large areas and a brush for edges. Let the primer dry completely before applying your final paint coat.
Step 7: Choose the Right Tools and Materials
Your prep work will be wasted if you use low-quality tools for painting. Before you start, gather:
- Quality brushes and rollers
- Extension poles for ceilings or tall walls
- Stir sticks and paint trays
- A ladder or step stool
Also, make sure the paint is well-mixed and suitable for the wall material (e.g., masonry, drywall, wood).
Final Tip: Test Paint on a Small Area
Before applying paint to the entire wall, test a small section. This allows you to:
- See how the color looks in your space under natural and artificial light
- Ensure the wall is properly prepped for adhesion
- Make adjustments if needed before committing
Conclusion
Properly preparing your walls for painting is the foundation of a flawless, professional finish. It may take time and effort, but the results are worth it. From repairing damage to priming and taping, every step plays a role in achieving long-lasting and visually appealing results.
If you’re short on time or want expert precision, consider hiring a trusted painting professional.
For premium wall preparation, painting, and renovation services in the UAE, contact us at: +971 501704507.
We provide top-quality workmanship and attention to detail that ensures your project is completed efficiently and beautifully.