

The Step-by-Step Process of Installing a False Ceiling
Thinking about installing a false ceiling? You’re not alone. False ceilings also called drop ceilings or suspended ceilings are a smart way to hide wiring, reduce noise, improve lighting, and add a sleek, modern touch to your space. But how does the process actually work?
If you’re planning a home or office renovation, it’s helpful to know the exact steps involved. Whether you’re hiring professionals or just want to stay informed, here’s a detailed, real-world look at how false ceilings are installed, step by step.
Step 1: Initial Site Inspection & Design Discussion
Before anything goes up, it all starts with a site visit. A professional will:
- Measure the ceiling height
- Assess lighting needs
- Check for AC ducts, wiring, and sprinkler systems
- Recommend materials (like gypsum, POP, or metal tiles)
- At this stage, you’ll decide on:
- The ceiling height drop
- Layout design (flat, layered, cove, etc.)
- Placement of lights, fans, or HVAC vents
This design phase is essential—it ensures everything fits and functions seamlessly.
Step 2: Selecting Materials
Not all false ceilings are made equal. You’ll typically choose between:
Gypsum board: Lightweight, clean finish, fire-resistant—great for homes and offices
POP (Plaster of Paris): Customizable but takes longer to set
Metal tiles: Durable, often used in commercial spaces
PVC panels: Budget-friendly and water-resistant
Material choice impacts both the look and durability, especially in humid environments like kitchens or bathrooms.
Read also: How to Choose the Right False Ceiling Design for Your House
Step 3: Marking the Ceiling Level
Once the design is finalized, the crew gets to work marking your wall for the new ceiling height—usually done with a laser level. This ensures the entire frame remains even across the room.
The standard drop is anywhere from 4 to 12 inches depending on lighting, ducting, or design needs.
Read also: The Best False Ceiling Designs for Modern Interiors
Step 4: Installing the Frame or Grid System
This is the skeleton of your false ceiling. The team will:
- Install perimeter channels along the wall
- Hang intermediate support channels using anchor fasteners from the original ceiling
- Fix main runners and cross channels to form the full support grid
This metal framework (usually made of galvanized iron or aluminum) needs to be perfectly aligned—it’s what holds everything up.
Read also: Creative False Ceiling Designs to Elevate Your Home Decor
Step 5: Adding Electrical & HVAC Components
Before any panels go up, electricians and HVAC technicians step in.
This is when they:
- Run wiring for ceiling lights, fans, or speakers
- Install ducts, vents, or AC pipes
- Set up recesses for LED strip lighting or cove lighting
It’s far easier to handle all wiring at this stage than to drill or adjust things later.
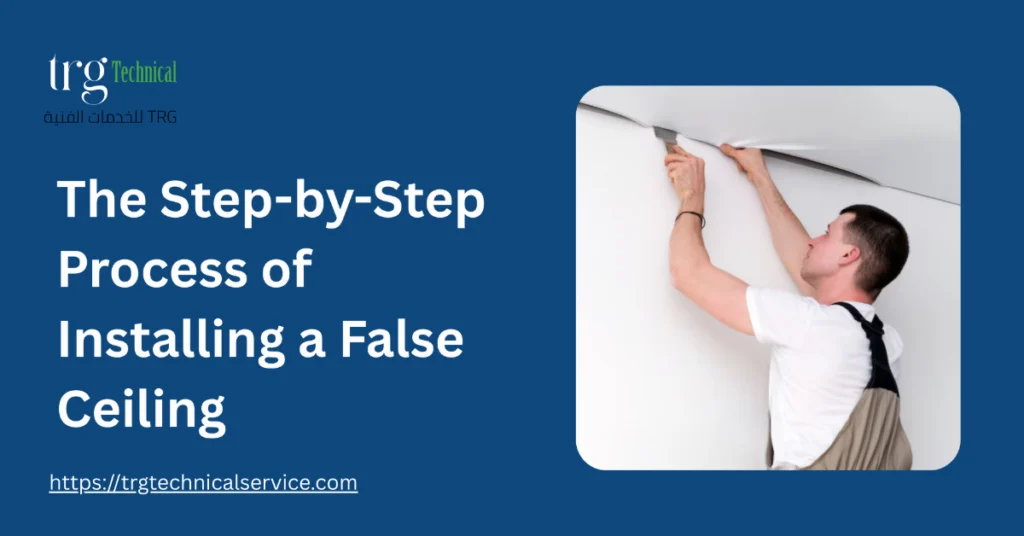
Step 6: Fixing the False Ceiling Boards
Now comes the actual ceiling. Depending on your chosen material:
- Gypsum boards are screwed onto the grid
- POP ceilings are molded and applied
- PVC or tile panels are slotted into the frame
Installers make precise cuts for lights, sprinklers, or fans. Joints are treated with jointing compound and mesh tape to smooth over seams.
Read also: Common Issues with Gypsum Ceilings and How to Fix Them
Step 7: Finishing Touches
This is where the magic happens. The surface is:
- Sanded smooth
- Primed and painted (usually matte white or with custom color choices)
- Cleaned and detailed to remove dust or smudges
At this point, you’ll really start to see the final look come together.
Step 8: Final Fitting of Lights and Fixtures
Once the paint dries, electricians return to:
- Fix recessed or surface-mounted lights
- Install ceiling fans, motion sensors, smoke detectors, etc.
- Test all components to make sure everything’s functioning
And that’s it—you’ve got yourself a fully installed, fully functioning false ceiling.
How Long Does It Take?
For an average-sized room, installation usually takes:
- 1–2 days for design and marking
- 2–3 days for framework and board fitting
- 1–2 days for finishing and electrical
So, expect a total timeline of 5 to 7 days for a standard residential room—less if it’s a small space, more for larger commercial projects.
Why Hire a Professional?
While you might be tempted to DIY a small panel, full-scale false ceiling installation requires:
- Precision tools (laser levels, drywall screwdrivers, etc.)
- Electrical know-how
- Load calculations for fans or fixtures
- Hiring professionals ensures:
- Flawless finishes
- Proper load handling
- Safe integration with electrical or HVAC systems
Conclusion
A false ceiling can completely transform your room making it quieter, brighter, and more modern. But it’s not just about looks. From lighting placement to structural safety, every step matters.
If you’re planning to install a false ceiling and want it done right, consider working with professionals who bring both design and execution expertise
TRG Technical Services offers customized solutions for residential and commercial spaces—delivered with precision, safety, and clean finishes.
